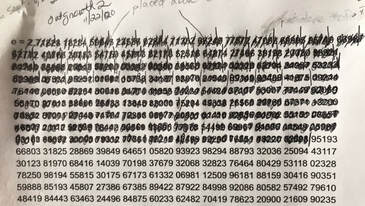
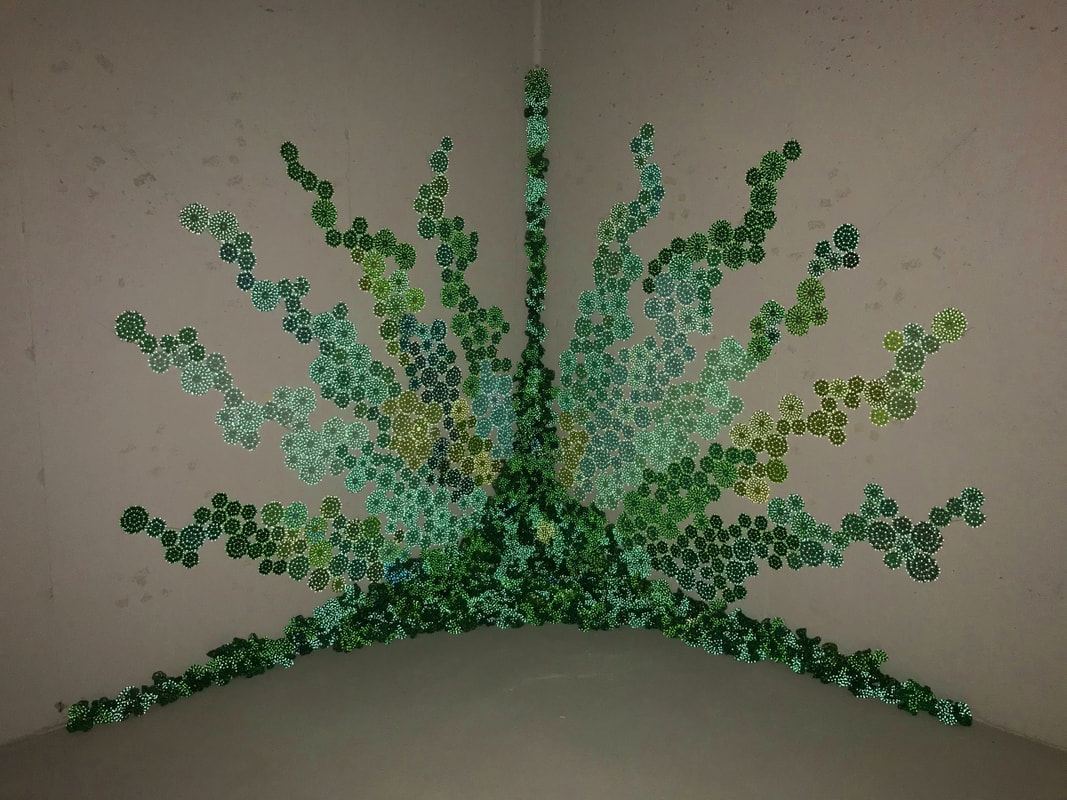
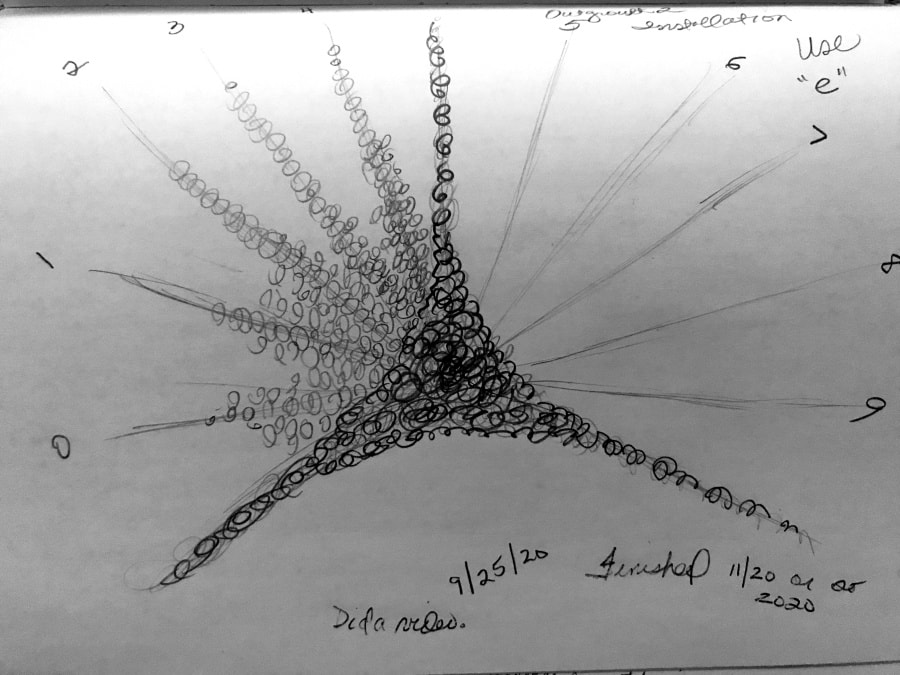
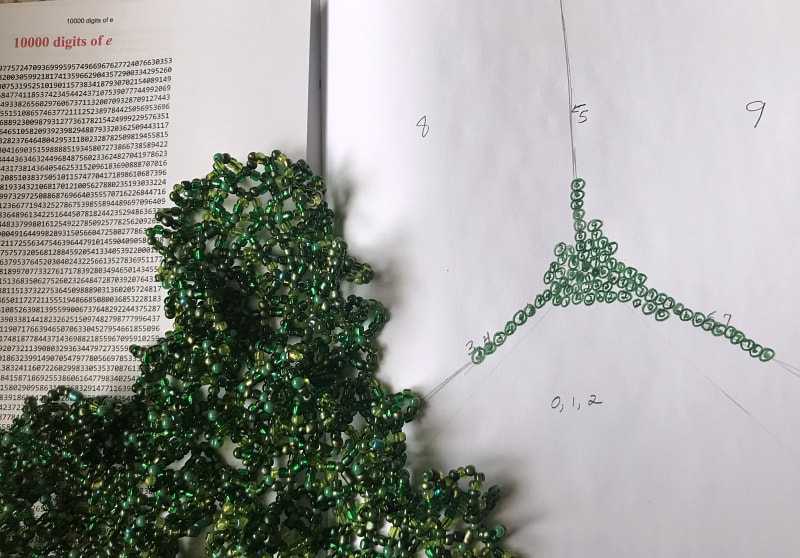
 Above photo shows Outgrowth 2 in low light. It changes a lot with different lighting. It measures 6' x 6' x 6' centered on a floor corner of my poured-concrete basement. It is made entirely out of hyperbolically woven glass and reflective acrylic beads. And lots and lots of clear Gorilla tape. The piece can be dismantled and recreated elsewhere as a temporary installation or a permanent, outdoor piece with clear caulk. I'm very happy with this. I was very happy with Outgrowth 1, but number 2 turned out better than expected. The big difference between the two was the mosaic wall placement. For Outgrowth 1, I used the irrational number "e" (2.7182818284590452353602874713...). It is a number that shows up in population growth so I used it to place the mossy areas along the crack between to the three surfaces and onto the planes. It gave it a more natural growth pattern and, even better, I didn't have to fuss over where to place everything. I *did* fuss over where to place the wall tiles in Outgrowth I and it shows. For Outgrowth 2, I decided to divide the two vertical walls into 10 equal sections with 5 straight lines emanating from the origin point in the corner. I attributed each of those lines a digit from 1 to 0. (I can't remember why I decided to put 0 at the end instead of the beginning.) ((If anyone has a reason it should be the other way around, please let me know!)) Then I placed a wall tile using the line as the axis of growth for that number. I had blocked out two piles of colored tiles prior to installing. I wanted to keep same-color groups together so it would look like there were transitions to different colonies of lichen growing up the wall. Fun fact: the S curve in the final design did not appear in the original concept sketch. The S-curve fluctuates back and forth but remains centered on the growth axis. It's hard to photograph this body of work because the light effects are luminosity- and angle-dependent. A still photo captures a tiny sliver of the experience. I'll be making more videos featuring each piece to give people a better idea of their visual dynamics and dimension. The first video I did for this piece is fairly one-dimensional because it is a time lapse of the installation. I thought it would be fun to have little videos showing these pieces growing. The first one I made for Outgrowth 1 was terrible but got the point across. I'm learning. The video for Outgrowth 2 is a little better. (These are made with social media in mind.) Here's a short video in which I am wearing the light source. For the next video I'll try a fixed light source behind the camera.
0 Comments
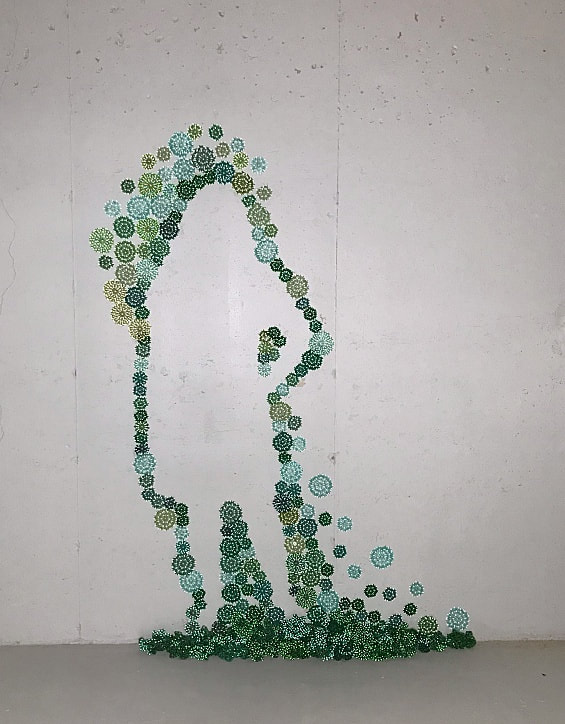
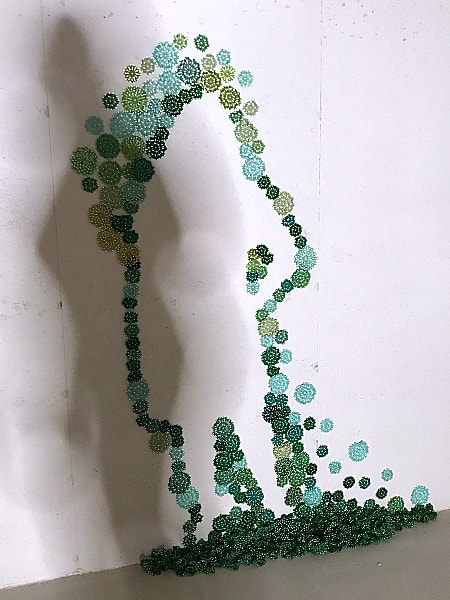
'Outgrowth Figure 1' was a temporary wall mural installed in early August 2020 made from the components I was making for a larger installation, 'Outgrowth 1.' It was a good way to get familiar with the temporary adhesives and work out how I was going to build things in the Outgrowth Series. The series is designed for temporary site-specific installations in galleries and outdoor seasonal exhibits. The components of the series are made out of woven glass and reflective acrylic beads.
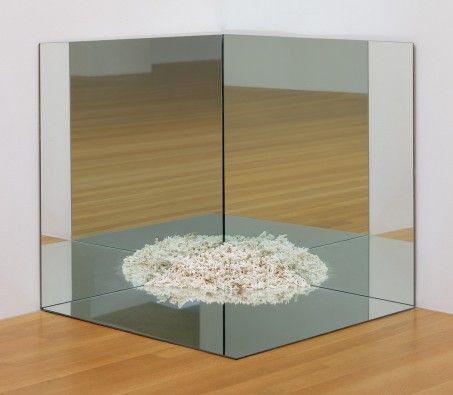
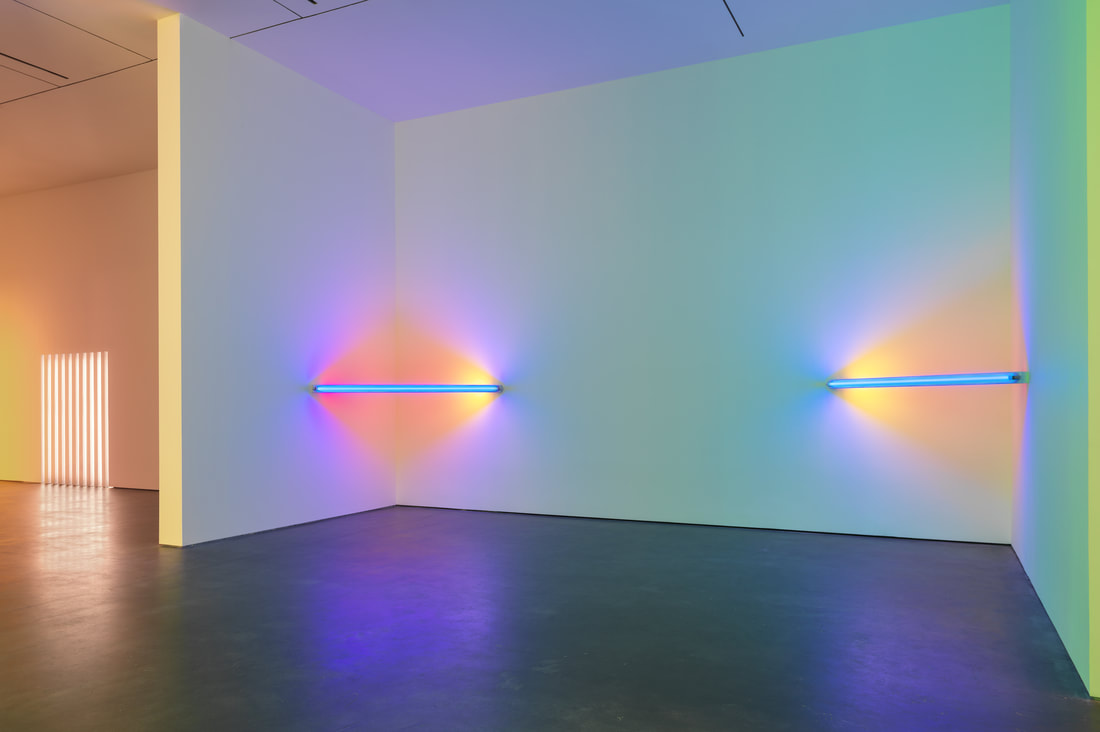
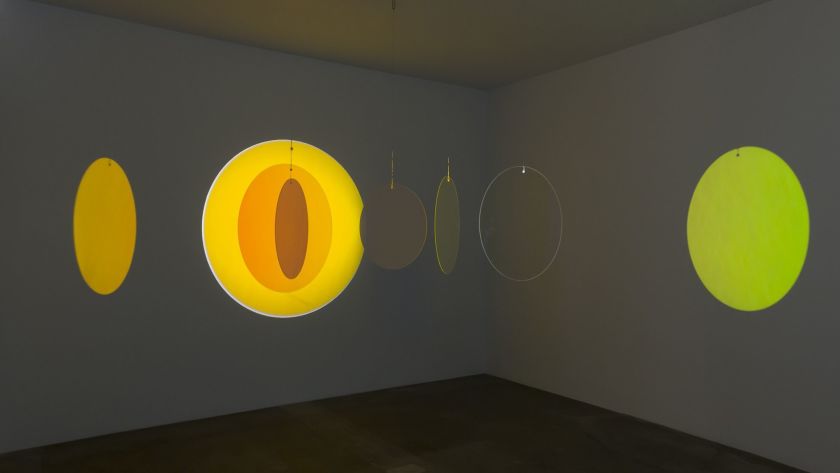
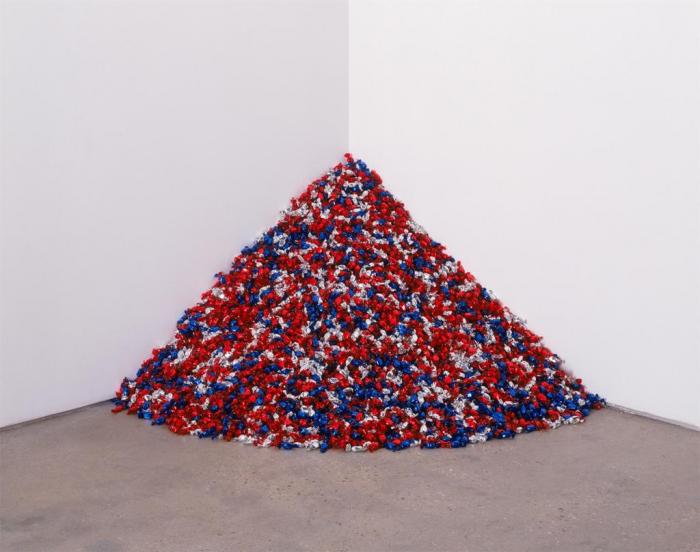
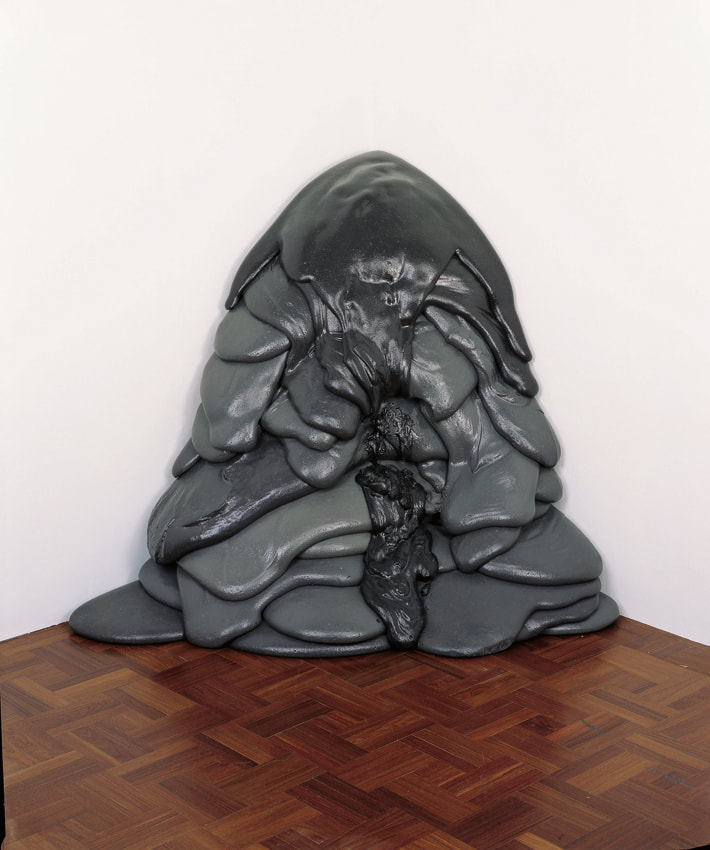
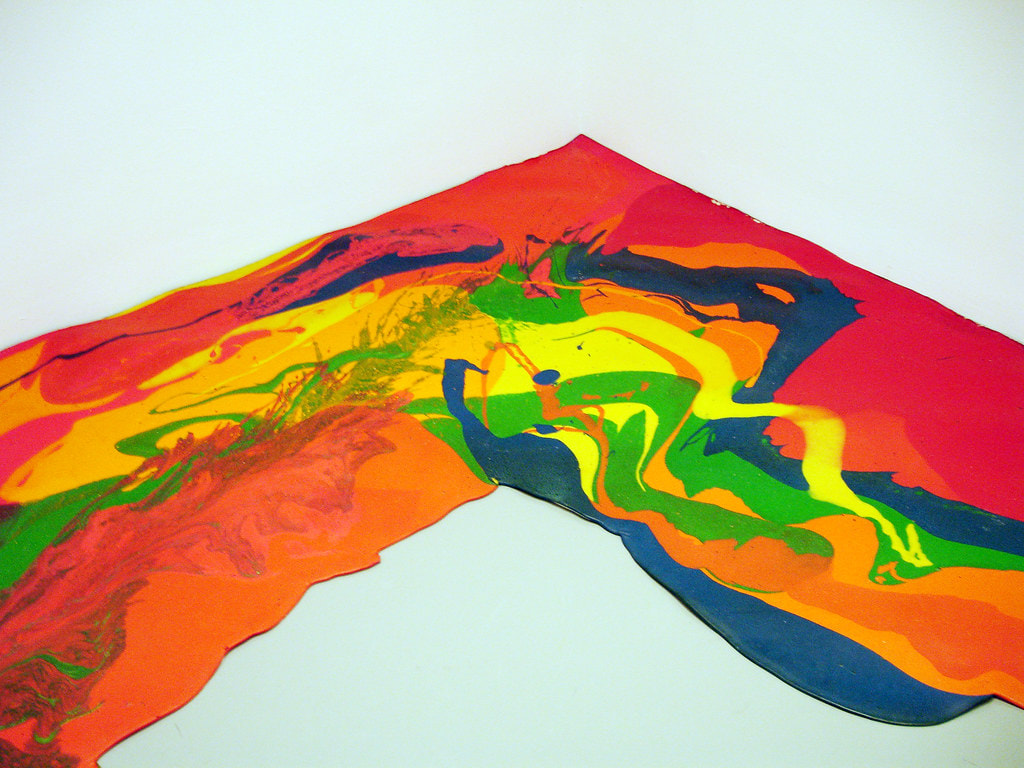
The shapes of the components grow using the same algorithm. The larger pieces with more beads take on obvious hyperbolic, organic shapes. En masse the components appear to be growing colonies of climbing lichen or lush moss. Negative space embellished figures from the 'Outgrowth' series can be interactive. If the mural is created on a light-colored wall with a strong light source behind, visitors' shadows will be cast onto the wall and animate the negative-space figures. The light source also makes the luminous reflective beads shine as the shadows pass beyond them. 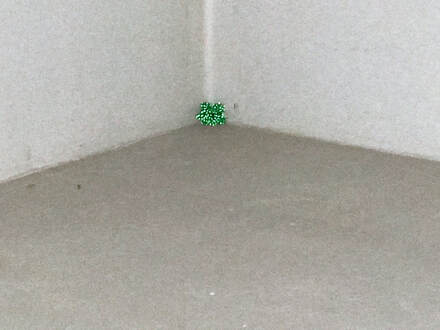 The first of many, many little moss units sitting in the corner like lint in a belly button waiting for me to finish weaving its friends. The first of many, many little moss units sitting in the corner like lint in a belly button waiting for me to finish weaving its friends. I have been very busy in lockdown. I studied some new weaving techniques that are faster and use less beads but still grow into biomorphic hyperbolic forms. I did a little IG video on the studies a few weeks ago at @thereforeijam. It's developing into a body of work that will encompass outdoor and indoor installations inspired by the growth patterns of moss and lichen. I am motivated to develop the outdoor site-specific installation/mosaic/mural pieces because it will open up new options and artistic growth. This means I have to tweak my materials--especially my adhesives--to be weather proof. I'm testing whether the acrylic reflective beads will fade or melt on a little test rock out in the front yard. I'd love to retain the reflective beads but if they can't survive harsh summer conditions, then I need to stick with all glass. I'd love to use the reflective beads as it calls attention to something that's often overlooked and they look really cool at night. Also switching from natural fiber thread to synthetic. While the outdoor materials test is underway, I'm working on an installation in a bare corner of the basement. "Outgrowth #1" grows out of the corner where the floor and walls meet. I'm using the number e with extra digits weighted to the floor to help me get a natural distribution. The areas higher up the wall that don't have moss pieces will have beaded representations of lichen colonizing the wall. I don't know if I will use a formula to arrange the lichen shapes. When I say "moss" and "lichen" these are obviously scaled-up impressions of those life forms. This body of work will be easy and cheap to transport and install. Clear silicon is a quick, semi-permanent adhesive for the exterior and some interior installs. It peeled off cleanly from my test rock after curing without a lot of effort. Gorilla tape/tabs for interior installs work great. The components are reusable. Many artists I admire have done corner installations. Dan Flavin, Lynda Benglis, and Olafur Eliasson use them a lot. Out of the images below I identify most with the implied dimensions in Smithson's piece and the organic quality of Benglis'. I adore Dan Flavin's work although my work has emotional content whereas I understand that he insisted his work did not. Lynda Benglis' use of acrylic foam instead of molten metal surprised me especially as the piece was addressing Carl Andre's work. That choice of material serves to further distinguish the one artist's vision from the other's. In a month or so, I should be ready to do the installation and take photos. Very excited. |
artist
Julie Mars' current events, projects, & inspirations. Archives
July 2024
Categories
All
|
 RSS Feed